Installing and Sharing a Network Printer Between Server and Client in a Windows Domain
Overview
This lab demonstrates how to simulate a shared network printer setup in a Windows Server domain environment. A virtual printer is manually installed on the server and shared with a client machine using a simulated IP.
| Skills Demonstrated |
|---|
| Manually installing a printer using custom IP configuration |
| Selecting and applying generic printer drivers |
| Configuring printer sharing settings on a server |
| Connecting to a shared printer from a domain-joined client |
| Using UNC paths to access shared resources |
| Tools Used |
|---|
| Windows Server (Active Directory Domain Services) |
| Windows 10 |
| Control Panel – Devices and Printers |
| Active Directory Users and Computers (dsa.msc) |
| Run Dialog |
1. Environment Setup
- Installed a Windows Server VM
- Created a local Administrator account
- Installed Active Directory Domain Services (AD DS)
- Promoted the server to a Domain Controller with the domain name:
lab.local

- Created a domain user:
- Name: John Doe
- Logon Name:
j.doe

2. Install and Configure Virtual Printer on Server
- On the Windows Server, opened:
Control Panel > Devices and Printers - Clicked Add a printer using manual settings
- Used a fake IP address for simulation:
10.0.0.199

- Selected generic printer drivers
- Named the printer LabPrinter
- Enabled printer sharing to make it available on the network

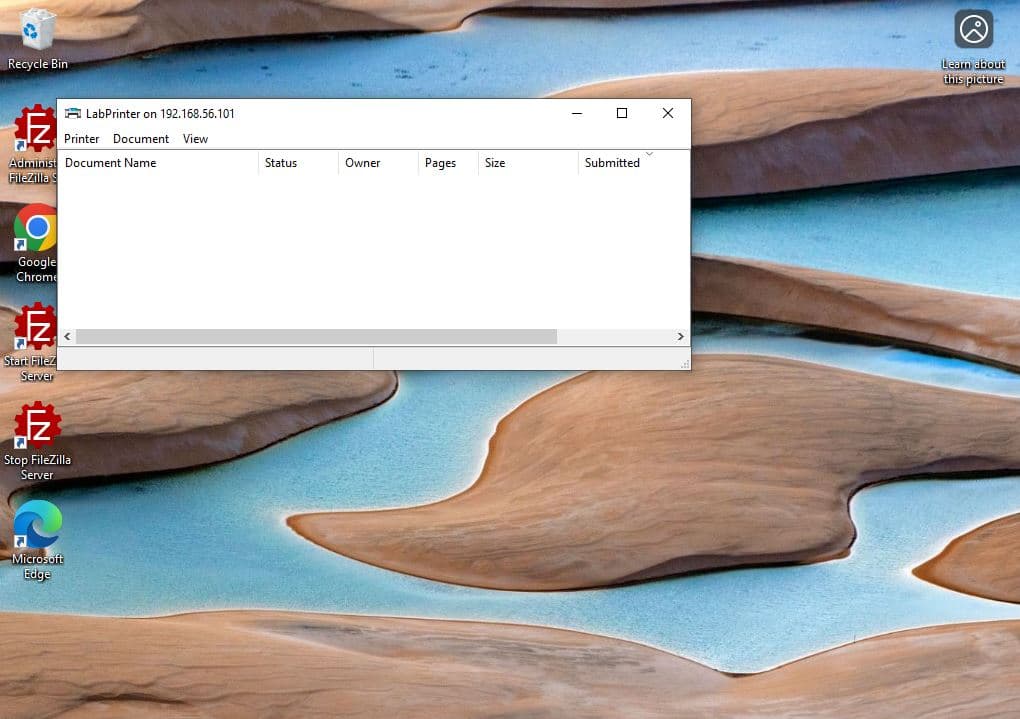
3. Connect Client to Shared Printer
- On the Windows 10 Client (John Doe), opened Run dialog
- Entered the shared printer path using the server's IP:
\192.168.56.101\LabPrinter

- Verified that the client is successfully connected to the LabPrinter